- Place the configuration work area very close to a LibreRouter device that has already been configured. The devices need to use their antennae to detect a nearby Community Network signal in order to configure themselves.
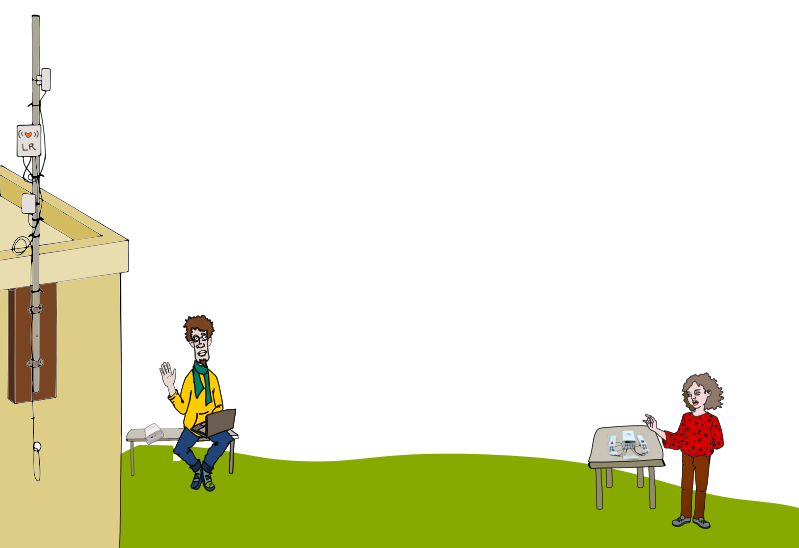
- If various devices are being configured at the same time, they can be configured at a single location, repeating the steps with each one.

- If various devices are being configured at the same time, they can be configured at a single location, repeating the steps with each one.
- Power on the device. Once the lights on the back of the Device turn on, wait two minutes for the start-up process to be complete.
- Open the list of available Wi-Fi connections on the mobile device or computer. The following Wi-Fi networks will appear:
- LibreMesh.org This Wi-Fi signal will be repeated on each Community Network device. It allows the devices to remain connected to the network automatically even if it is moving. This is called “roaming,” and it allows people to move through their community and maintain a signal as long as there is a Community Network node nearby.
- LibreMesh.org/LiMe-[and a sequence of numbers and letters]. This is the unique Wi-Fi signal for each device.
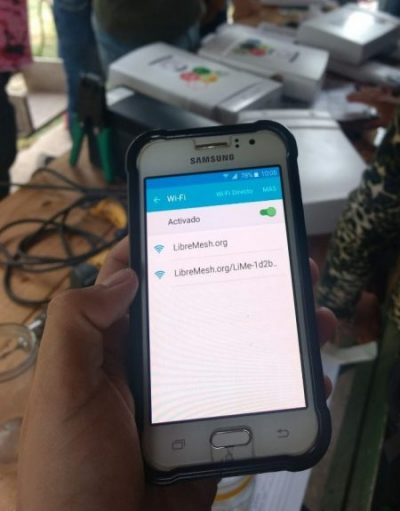
- Choose LibreMesh.org/LiMe-[and a sequence of numbers and letters] and wait for it to connect. It will say “No Internet connection” because the Device is not configured and is not yet part of a network.
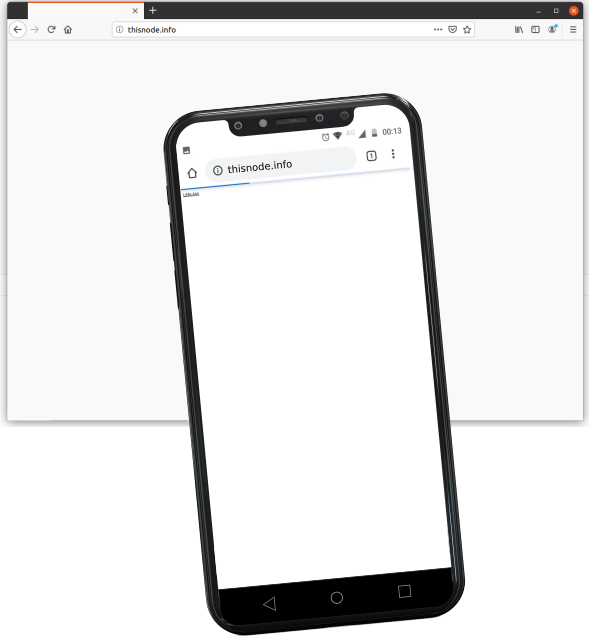
- Open the browser on the mobile device or computer. You can use FireFox, Chrome or any other browser.
- Write the following in the search bar: thisnode.info
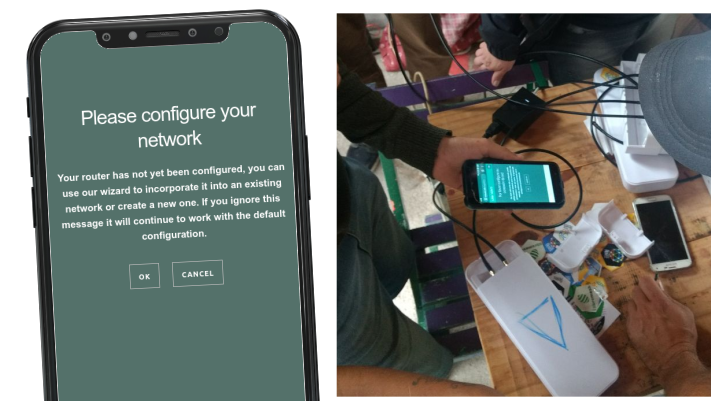
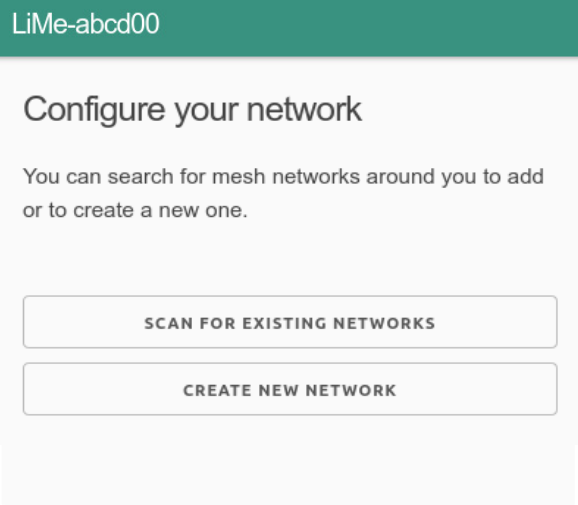
- The first screen in the process will appear. Select the “OK” button.
- Press Scan for existing networks
- It will search for the Community Network that we would like to add this device to. This will take a few seconds.

- This is the next screen.
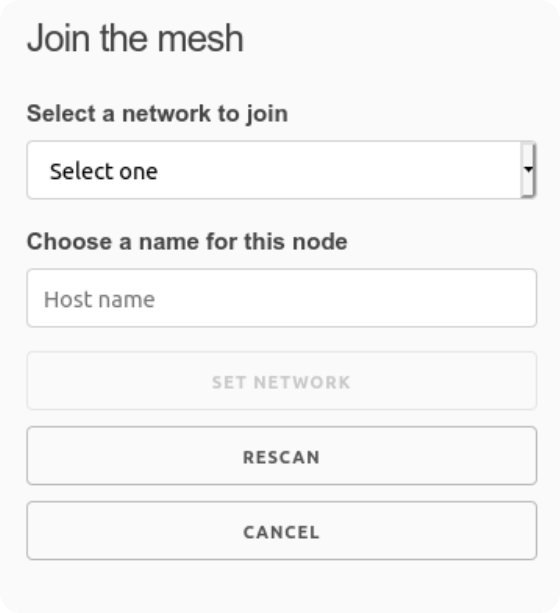 If you found the right way to configure the nearby device, it will show a list of LibreMesh networks that it managed to scan. If nothing appears, press the Scan again button.
- Select a network to join. For example: PuebloLibre
- Choose the name for this node. This will be the name of the Device that is being configured. For example: pl-plazacentral. Remember that the names of the nodes must be unique and may not be repeated.
- Complete the process by pressing the Set Network button.
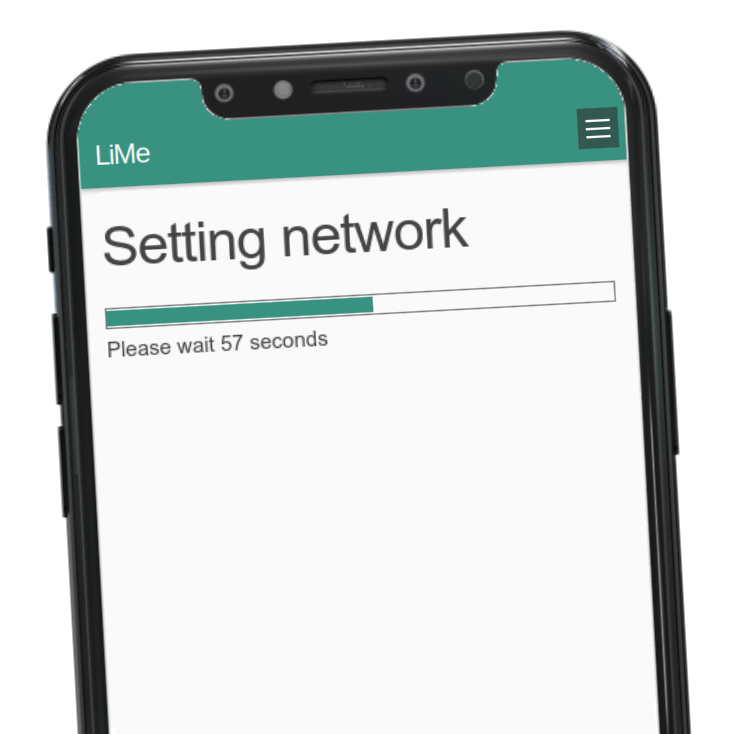
- Wait for the process to be completed. The screen that appears next is:
- Return to the device Wi-Fi network list. The new Wi-Fi signal will appear with the format [NetworkName/node-name]. For example: PuebloLibre/pl-plazacentral
Perfect! The new LibreRouter Device is now part of the Community Network. 🙂
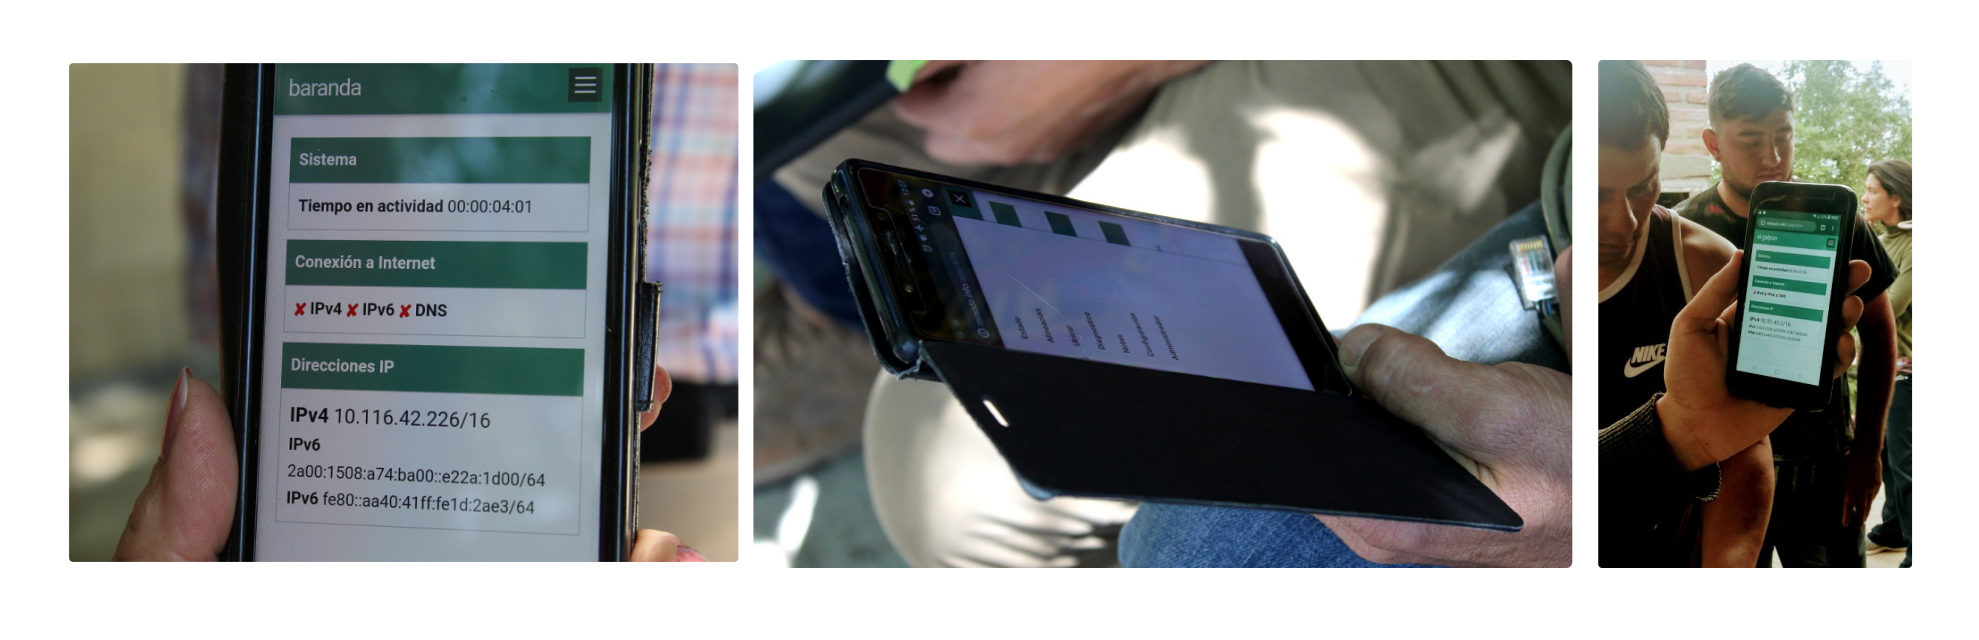
- Enter the browser again and write thisnode.info in the search bar. This will grant you access to the LimeApp. This application allows users to monitor, diagnose and access information about our LibreRouter Device.
🔺 You can return to factory settings by pressing the Reset Button on the LibreRouter device. More information is available at How do I restart the LibreRouter configuration process from the beginning?
